Ragnarok Origin Classic: The Complete New Player Guide
 |
|
Jumping into Midgard for the first time can feel overwhelming with so many classes, systems, and daily tasks to juggle. This guide walks you through everything a new adventurer needs — from building your character to picking a job, farming efficiently, and taking down bosses — so you can get a strong start without wasting time on trial and error.

Ragnarok Origin: Classic
Contents
Getting Your Character Started
Your journey begins with character creation and the opening tutorial. Customize your appearance, pick a name, and work through the intro missions — they'll hand you starter gear, experience, and access to core features that set the foundation for everything that follows.
| Step | What It Involves |
|---|---|
| Character Creation | Choose gender, hairstyle, eyes, and your in-game name. Purely visual — it won't affect your stats or performance. |
| Tutorial & Main Story | Your best early source of EXP, equipment, and unlocked systems. Prioritize this above everything else at the start. |
| Combat Settings | Auto Mode works well for routine grinding; switch to Manual for boss fights or anything that needs precision. |
| Inventory Care | Hang onto potions and useful gear, offload junk items, and keep valuables organized. |
| Early Growth | Push through quests, pick up basic skills, and gradually improve your equipment. |
| Key Takeaway | Skip the urge to grind aimlessly early on — the story missions reward you faster and better than random farming. |
Picking Your First Job
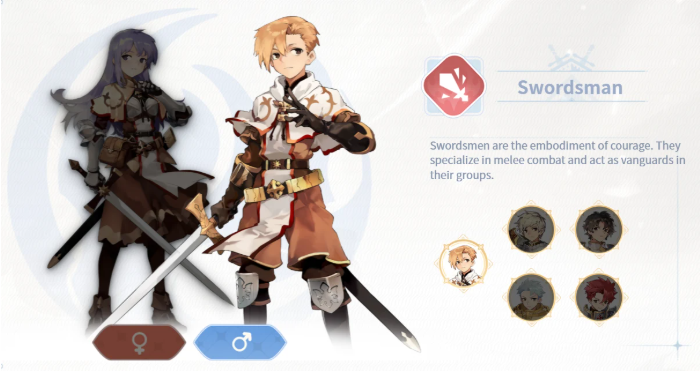
Choosing a class is one of the most exciting decisions in the game. You'll start as a Novice, and once you hit roughly Job Level 10 and clear the basic prerequisites, you can commit to your first job. This choice shapes your combat style, farming efficiency, and how well you fit into group content.
First Job Change (around Level 10) — six base paths to choose from:
- Swordsman — A durable melee fighter. Evolves into Knight, Paladin, or Crusader down the line.
- Mage — Deals magic burst and area damage. Progresses into Wizard, then High Wizard.
- Archer — Physical ranged damage dealer, excellent for farming. Becomes Hunter or Sniper.
- Acolyte — The support and healing class. Branches into Priest, High Priest, or Monk/Champion.
- Thief — Fast melee burst damage, especially strong in PvP. Turns into Assassin, Assassin Cross, Rogue, or Stalker.
- Merchant — Built around trading and crafting. Becomes Blacksmith, Mastersmith, Alchemist, or Biochemist.
Second Job Change (around Level 40–50+)
This is where your class truly comes into its own, unlocking much stronger skills and better equipment through dedicated quest lines.
Quick Tips for New Players
- Want easy, F2P-friendly farming? Go Archer/Hunter or Acolyte/Priest.
- Prefer tanking or supporting a party? Swordsman/Knight fits dungeons and group play perfectly.
- Looking for big damage or PvP? Mage/Wizard or Thief/Assassin can hit hard.
- Stat priorities: put points into whatever drives your class — STR for melee, INT for magic users, and DEX/AGI if you're going ranged, crit, or attack speed.
Why the Main Quest Matters
Quests act as your compass through the game. NPCs hand out tasks that guide you through new areas, level you up, and gradually teach you the game's mechanics. Completing them nets you character EXP, job EXP, items, and other rewards, while naturally introducing systems like skill upgrades and gear enhancement so you're not left guessing.
Early on, the main storyline should be your top priority — it moves you through new zones and unlocks essential features far faster than farming on your own.
Building a Daily Routine
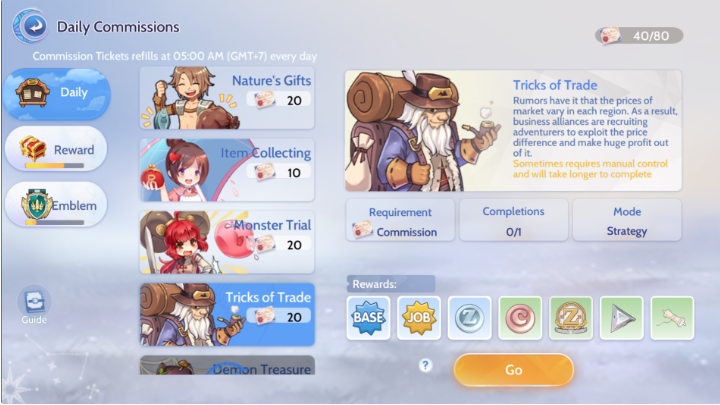
A short daily checklist keeps your character progressing steadily and makes sure you're not missing out on rewards — and it doesn't require hours of your day.
Collect Your Free Rewards Start each session by grabbing daily login rewards, event bonuses, and battle pass items. These often include gacha tickets, cosmetics, and useful resources that speed up your progress.
Push Through Story Quests Clearing your daily main story content nets you character and job EXP while steadily unlocking new features.
Handle Daily Activities A few things worth doing regularly:
- Mini-boss runs for quick rewards and drops
- MVP boss fights for rare cards, materials, and blueprints
- Rotating event activities for bonus loot
Spend Combat Time Wisely Use your active playtime to farm monsters you can clear quickly — this maximizes EXP, drops, and monster blessing bonuses per minute spent.
Get Involved With Your Guild Guild quests and events bring extra rewards, contribution points, and sometimes unique stat bonuses — well worth doing if you've joined one.
Leveling Up Efficiently
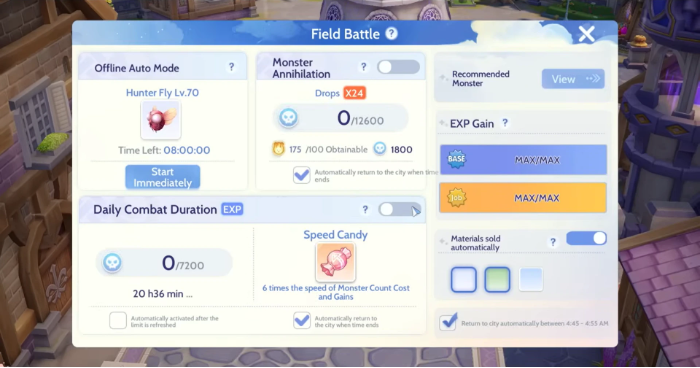
Fast leveling comes down to knowing where to focus your time. The main story remains your best EXP source and even includes a skip option to speed things along. Avoid grinding randomly in the early game — the story simply outpaces manual farming at this stage.
A few extra tips:
- Let AFK/auto-farm run when you're not actively playing to keep earning EXP and drops passively.
- Target monsters you can defeat quickly rather than tough fights that eat up your time.
- Save harder dungeons and bosses for later, or tackle them with a party.
- Use buffs, food, and potions when you need an edge to speed up kills.
Farming Smart
Farming is simply about repeatedly clearing monsters for EXP, loot, cards, and crafting materials — essential for gearing up before tougher content. The key is picking the right targets, stacking useful buffs, and choosing spots with fast kills so you get more reward for less effort.
| Farming Tip | Why It Helps |
|---|---|
| Fight monsters near your level | Best balance of EXP and drop quality |
| Prioritize one-hit kills | Saves time and resources |
| Exploit elemental weaknesses | Deals bonus damage |
| Consider monster size/race | Certain weapons and skills perform better against specific types |
| Use food, potions, and buffs | Improves overall farming efficiency |
| Pick high-respawn spots | More kills per minute means faster rewards |
| Party up for tough enemies | Safer and quicker clears |
| Use monster blessings and stamina | Boosts drop rates and resource gains |
Taking Down Bosses
Bosses are your source of rare items, cards, and blueprints unavailable anywhere else. Some can be soloed, while the bigger MVPs are much safer — and faster — with a full party. Success comes down to preparation, timing, and picking the right skills.
| Boss Tip | Why It Matters |
|---|---|
| Target bosses close to your level | Easier and quicker kills |
| Use elemental/race advantages | Boosts your damage output |
| Group up for major MVPs | Better survivability and loot |
| Watch respawn timers | Saves time hunting |
| Aim for first hit or the finishing blow | Extra bonus rewards |
| Keep buffs and gear ready beforehand | Keeps you strong mid-fight |
| Track bosses on the mini-map | No wasted time searching |
| Focus on bosses tied to items you need | Ensures you get useful drops |
Managing Zeny and Resources
Handling your currency wisely lets you upgrade gear and buy essentials without overspending. A few pointers:
- Earn Zeny steadily by selling unwanted loot, cards, potions, and food.
- Use merchants to get better deals, crafting options, and smarter trades.
- Save Gold Coins for growth materials and cosmetic items — they're earned purely through gameplay.
- Join an active guild early for buffs, shared resources, and access to WoE/GvG content.
Common Questions
Can I reset my stats or skills later on? Yes, though the game limits how often you can do this.
What are daily commissions, and are they worth doing? These are short daily tasks — things like defeating certain monsters — that reward EXP, Zeny, and useful items for very little time investment. Well worth doing every day.
What should I prioritize spending Gold Coins on? Upgrade materials and growth resources that help you level and gear up faster should come first.
Playing Ragnarok Origin Classic on PC with MEmu Emulator
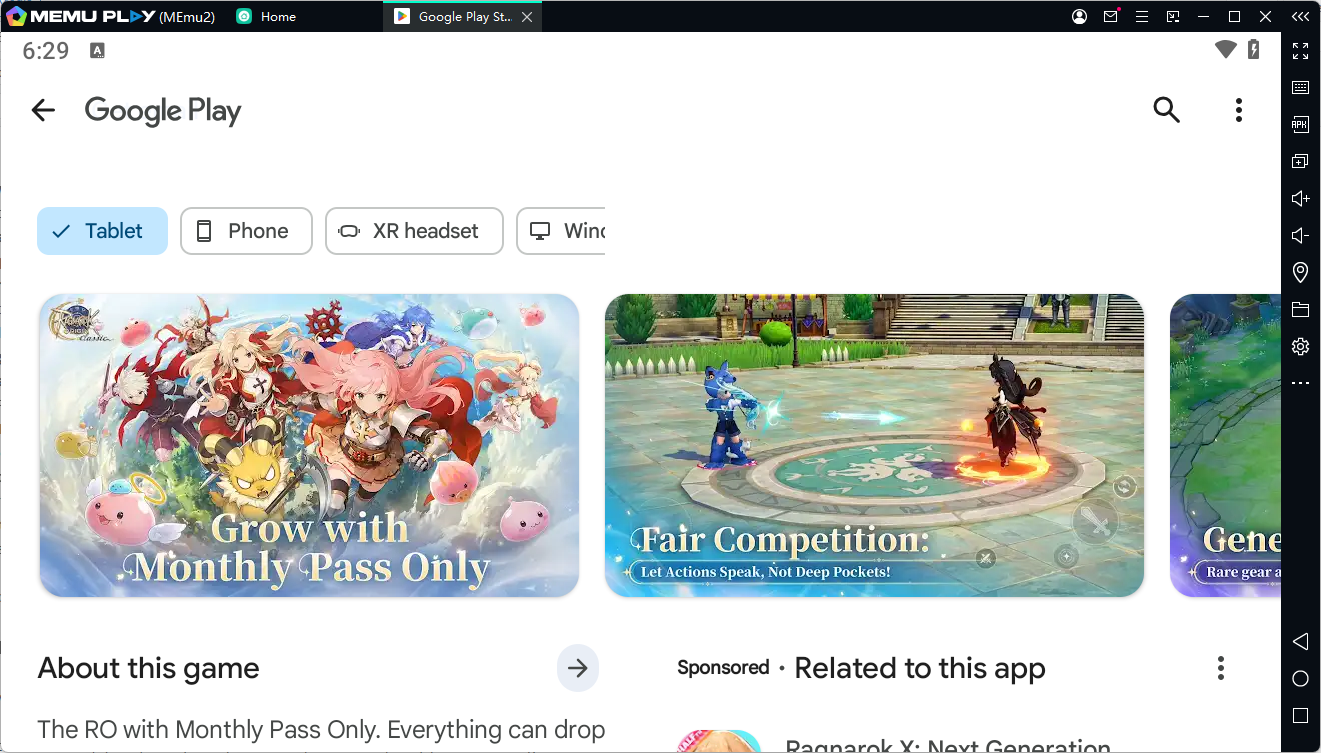
If you'd rather experience Ragnarok Origin Classic on a bigger screen with mouse and keyboard controls, running it through the MEmu emulator is a simple way to do that. Here's how to get set up:
- Download MEmu — Head to the official MEmu website and download the installer for Windows.
- Install the Emulator — Run the installer and follow the on-screen prompts to complete setup on your PC.
- Launch MEmu — Open the emulator once installation finishes — it may take a moment to boot up the first time.
- Find the Game — Use the built-in App Center or search bar inside MEmu to look up "Ragnarok Origin Classic."
- Install the Game — Click download/install and let MEmu handle fetching the game from the Play Store or its game library.
- Log In — Open the game from your MEmu home screen and sign in with your existing account, or create a new one.
- Customize Controls — Use MEmu's keymapping tool to set up mouse and keyboard shortcuts for skills, movement, and menus if you want a more PC-friendly control scheme.
- Start Playing — Jump into the tutorial and begin your adventure — everything from here plays the same as it would on mobile.
Ragnarok Origin: Classic
Final Thoughts
That covers the essentials for getting started in Ragnarok Origin Classic. Take it slow, experiment with different classes, and don't hesitate to team up with other players. Midgard has a lot to offer — enjoy the journey, and you'll be surprised how quickly your character grows.