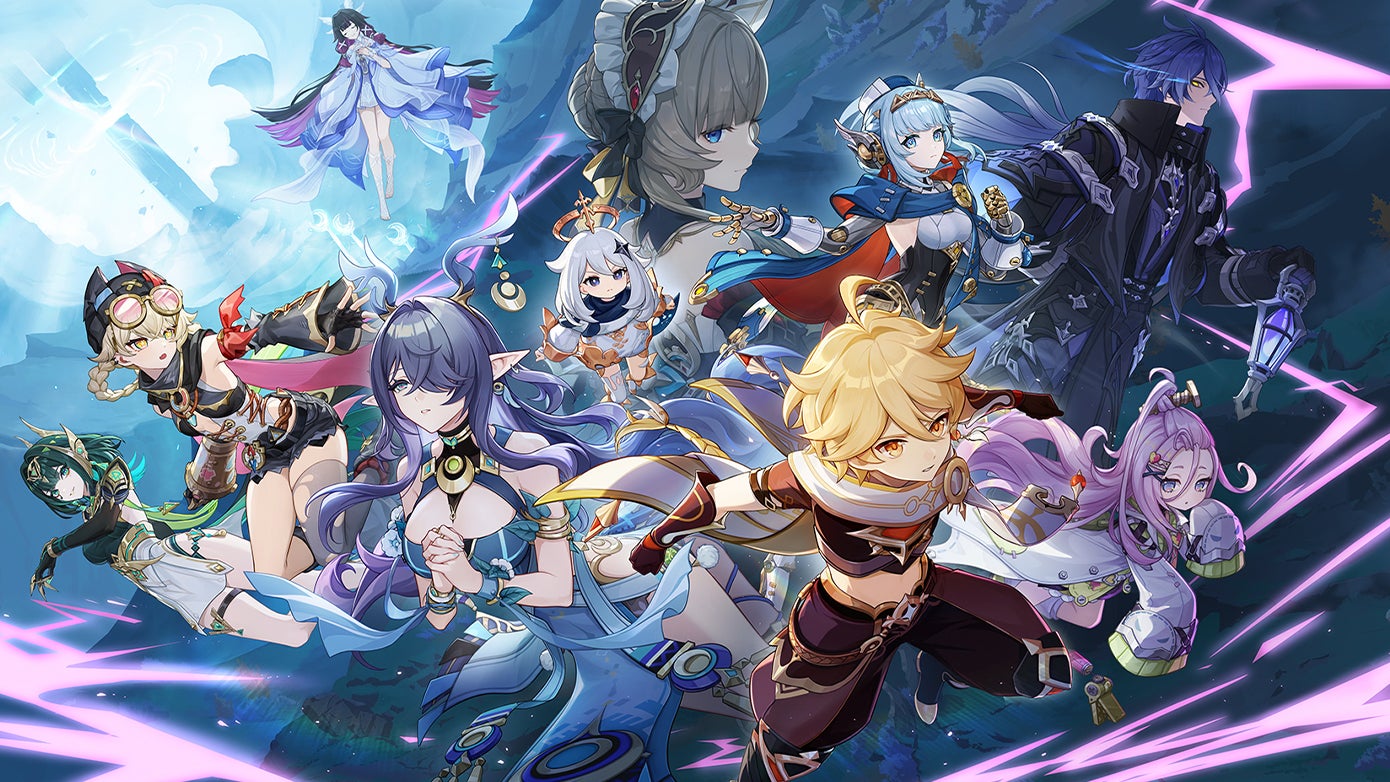
Genshin Impact 6.3 Spiral Abyss Floor 12 Full Guide
Greetings, Travelers!
Spiral Abyss Floor 12 stands as the ultimate challenge in Genshin Impact. Here’s your complete overview of Floor 12 in Version 6.3—featuring top team compositions, top-tier character picks, enemy lineups for each chamber, clear guides, and all the rewards you can claim.
Genshin Impact
Genshin 6.3 Spiral Abyss Floor 12 Buff
Moon of Surging Tides
When a character triggers a Lunar reaction (Lunar-Bloom, Lunar-Charged, or Lunar-Crystallize) on an opponent, a shockwave will be unleashed at the opponent’s position, dealing True DMG. This effect can be triggered once every 3s.
Ley Line Disorder
– Upper Half: The active character’s Charged Attack DMG is increased by 75%.
– Lower Half: Lunar Reaction DMG is increased by 75%.
Using Columbina, Ineffa, Flins, Lauma, and Nefer can alleviate some of the output pressure; however, the Moon of Surging Tides is relatively low.
Genshin 6.3 Spiral Abyss Floor 12 Enemies
First Chamber
– Upper Half: Perpetual Mechanical Array x 1
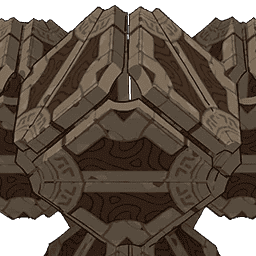
A mysterious ruin machine that can reconfigure itself into various forms. In battle, the Perpetual Mechanical Array will enter the Absolute Defense state, in which it splits and summons several different kinds of Ruin Sentinels. After defeating the enhanced Ruin Sentinels, the Absolute Defense state will be removed, and it will enter a weakened state.
– Lower Half:
1st Wave: Wilderness Exile x 2

- Will not die when HP drops to 0. Instead, enters the Grief-Stricken state and recovers to Max HP after a while. When characters use abilities enhanced by Ascendant Gleam, Wile Hunt will directly enter Grief-Stricken.
- Grief-Stricken: Based on whether the team is at Ascendant Gleam, Max HP will be reduced by 65% / 90% of DMG taken. Will only die when Max HP drops to 0.
2nd Wave: Battle-Hardened Lightkeeper x 1
- Has 2 layers of HP, the 1st human, the 2nd Wild Hunt.
- Wild Hunt: Will not die when HP drops to 0. Instead, enters the Grief-Stricken state and recovers to Max HP after a while. When characters use abilities enhanced by Ascendant Gleam, Wile Hunt will directly enter Grief-Stricken.
- Grief-Stricken: Based on whether the team is at Ascendant Gleam, Max HP will be reduced by 65% / 90% of DMG taken. Will only die when Max HP drops to 0.
- Wild Hunt Exiles will appear. After a while, the Boss eliminates all Wild Hunt Exiles, and heals its own HP based on their remaining HP.
Second Chamber
– Upper Half:
1st Wave: Construction Specialist Mek – Ousia x 1
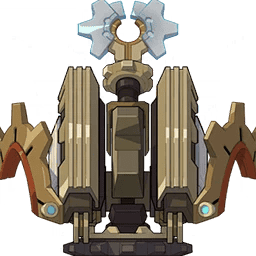
- Mid-tier Ousia Mek, masters the Cryo element.
- Attacking it with Pneuma 2 times will weaken it for 25s.
- While weakened, loses its element and can only perform basic Physical attacks.
2nd Wave: Burning-Aflame Wayob Manifestation x 1

3rd Wave: Burning-Aflame Wayob Manifestation x 1
- Trial Arena lasts for 13s, giving the Wayob a non-Elemental white Shield, maximum strength equal to 112% of its own Max HP. DMG to the Shield cannot be magnified by Amplifying Reactions, and it is immune to Freeze and Petrify.
- During the Trial, all characters lose all Elemental Energy and cannot gain any Energy, but their DMG dealt is increased by 120%, and DMG with the Nightsoul attribute is additionally increased by 60%.
- If the white Shield is broken within the Trial, the DMG boost and Energy loss effects will be removed, and will generate a large amount of orbs, reviving 90 Energy. Otherwise, the Wayob will gain an Elemental Shield according to the amount of remaining white Shield.
– Lower Half: Battle-Hardened Pipilpan Idol x 1

- Will summon 3 hats, hide in one of them, and quickly switch their positions. If the hat he is hiding in takes Electro-Charged or Lunar-Charged DMG, will pause switching.
- The hat has 36%~40% HP. It’s all RES greatly increases except Hydro and Electro, and takes 300% increased Electro-Charged and Lunar-Charged DMG.
- Defeat the hat he is hiding in to weaken him (all RES massively decreases). Electro-Charged and Lunar-Charged DMG is significantly more efficient.
- Upon being weakened, will lose HP equal to 12% non-Hydro/Electro DMG + 100% Hydro/Electro DMG taken by Hat, not exceeding 120% of Hat’s HP.
Third Chamber
– Upper Half:
1st Wave: Radiant Antelope x 1
- Will cause all characters to lose HP based on Max HP, DMG dealt -10%, incoming heal -10%, Crit Rate -10%.
- When each character heals to Max HP, their debuffs will be removed, and their Crit Rate +15%, DMG dealt +50%.
2nd Wave: Radiant Glacial Wolf x 1
A monster that has undergone a unique evolution due to being drenched in the ancient moon’s power for long periods of time. Radiant beasts can wield their innate powers to capture their enemies in a Radiant Cocoon… Once captured, both the amount of DMG taken and the strength of healing received will be affected. However, you can escape from a Radiant Cocoon by being healed to your Max HP, granting you the Disentangled effect, which boosts your abilities for a short period of time. Use this opportunity to attack…
– Lower Half: Knuckle Duckle x 1
- Will periodically increase all RES and summon 5 Ducks, each consuming 5% Boss HP when defeated. Defeat all the ducks to weaken the Boss and reduce all RES.
- Ducks have 26% HP, Electro RES 10%, and other RES 150%. Will be automatically defeated after taking Electro-Charged or Lunar Charged DMG 10 times.
| Genshin 6.3 Spiral Abyss Floor 12 Best Team Comps
Upper Half:
- For the upper half, it is recommended to bring characters with excellent single-target DPS. Priority should be given to characters who rely on Charged Attacks, such as Nefer and Neuvillette.
- It is best if the characters are not overly dependent on Energy for their damage output. Additionally, using Natlan characters provides an advantage when fighting Wayob, though the impact is relatively minor.
- If your damage output is insufficient, bringing a healer is also a viable option.
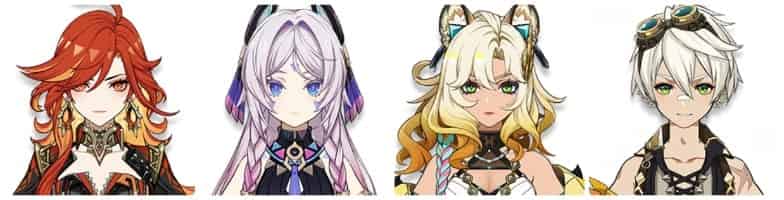
Team 1
Team 2

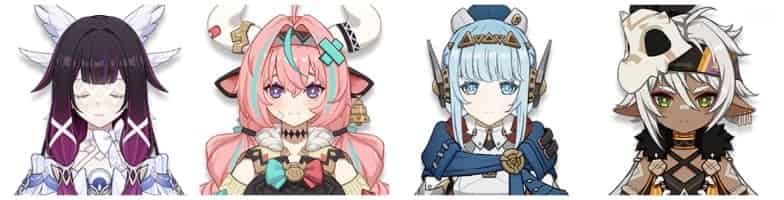
Team 3

Team 4

Lower Half:
- For the lower half, it is recommended to bring characters with powerful single-target DPS.
- Priority should be given to characters who can form Lunar Electro-Charged teams or those who serve as strong Electro Carries.
- Characters with Moonsign: Ascendant Gleam or shielding capabilities are even better, though they are not strictly required.
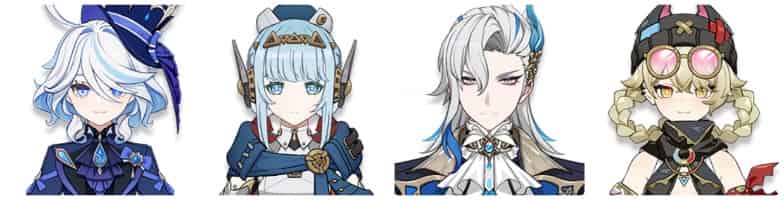
Team 1
Team 2

Team 3
Team 4

Conclusion
The difficulty of 6.3 Spiral Abyss is moderate, with lower DPS requirements compared to the previous reset. While the mechanics are somewhat specialized, the addition of new characters like Columbina and Jahoda has made achieving full stars much less difficult than before. It wouldn’t be an exaggeration to call this reset a “reward floor”.
Genshin Impact