Call of Duty Mobile DMZ Recon 101 Guide
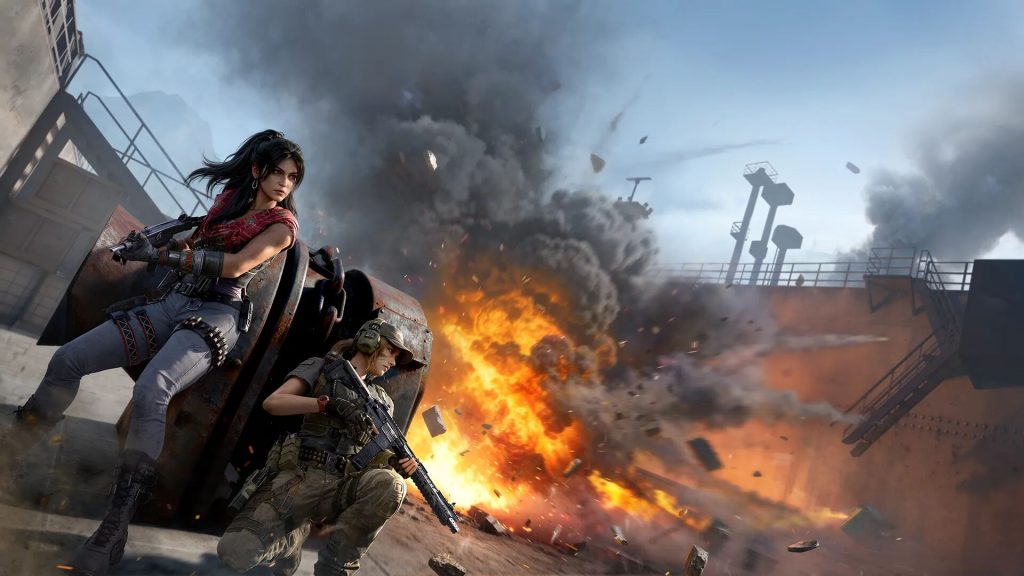
Call of Duty Mobile’s DMZ Recon isn’t your typical shooter—it’s a high-risk, high-reward loot-and-extract mission. You drop into a large map, fight AI bots and real players, hunt for valuable gear, complete objectives, and fight to get out alive. Escape successfully, and you keep everything. Fail, and most of your loot is gone.
That tension is what makes every match feel unique and adrenaline-filled.
This 101 guide breaks down DMZ Recon in simple, no-nonsense terms. You’ll learn how to read the map, choose the right loadout, pick useful talents, leverage contracts, and extract without getting eliminated. Consider this your survival starter kit—let’s get you geared up and extracting more often.
Call of Duty®: Mobile - Garena
What DMZ Recon Actually Is
Call of Duty Mobile’s DMZ Recon is a PvPvE extraction mode where survival depends on more than just aim. You drop into a hostile zone with a mission, a backpack, and complete freedom to fight, loot, sneak, or flee. Not every enemy needs to be engaged—sometimes the smartest play is to stay quiet and let the danger pass.
Your core objective is consistent: secure valuable gear, complete contracts, and extract before time runs out. The longer you linger, the more lethal the match becomes. Radiation spreads, extraction points shrink, and enemy squads close in. This isn’t a mode for casual wandering—every decision carries weight.
The Two Maps You Need to Know
Map awareness is fundamental to consistent extraction.
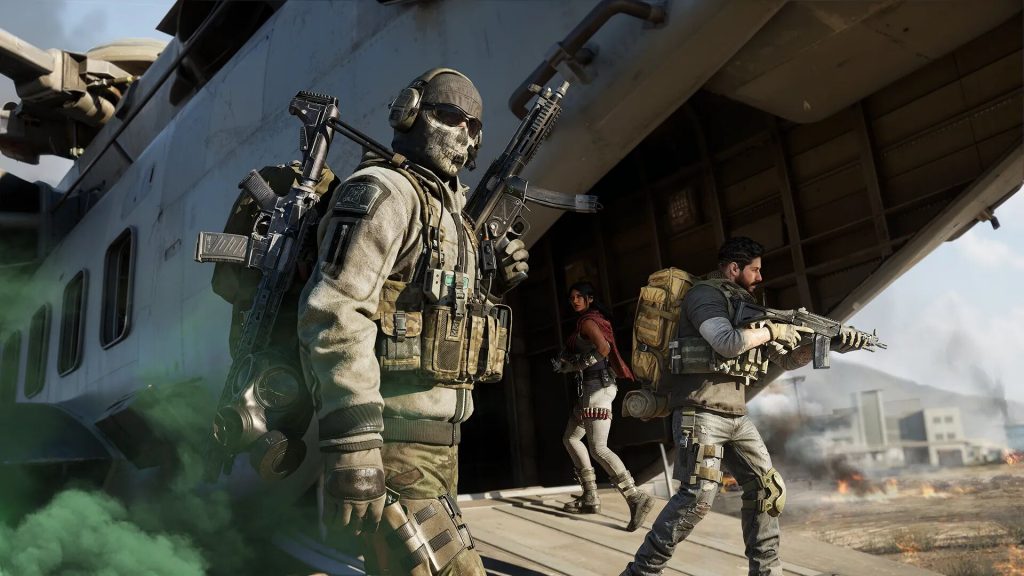
Serpent Island is the larger, open-world map. It features urban areas, shipyards, rooftops, compounds, and hidden caches. Its scale gives you room to maneuver, disengage, and reset. Ideal for learning the mode’s rhythm.
Building 21 is a high-density indoor environment. Tight corridors, labs, and stairwells force near-immediate contact. There are no quiet moments. Recommended only after you’ve built confidence on Serpent Island.
What to Bring (And What to Leave Behind)
Your loadout isn’t for show—it’s your lifeline. Stick to the essentials:
- One reliable primary weapon
- Armor vest and spare plates
- Ammo stacks
- Backpack
- Healing equipment
Quick Fill loadouts work fine for fast deployment. Custom builds offer more control but carry higher risk. Die with your gear, and most of it is gone. Silencers are strongly recommended. Noise draws attention, and attention is rarely on your side.
Talents: Choose Your Role
Talents define your playstyle. Three distinct trees let you specialize before deployment.
- Scavenger – The intel specialist. Scan areas to reveal enemies on the minimap. Ideal for solo players and squad scouts who want to control engagements through awareness.
- Assaulter – Built for aggression. Faster handling, sharper aim, and a rewind ability that reverts you to a prior position. Forgiving when things go wrong—and they will.
- Medical – The squad anchor. Smoke cover, faster revives, and team-wide buffs. Consistently in demand. Build this role, and you’ll never lack teammates.
Many players pre-configure their operators and talents through LootBar to drop in fully prepared. If you’re serious about consistent extractions, it’s worth setting up before you queue.
Contracts: Direction and Reward
Contracts are optional objectives that provide cash, loot, and mission progress. They also prevent aimless wandering. Common types include:
- Hunting a high-value target
- Retrieving intel
- Safecracking
- Destroying enemy supplies
- Eliminating threat clusters
Contracts pay well, but they aren’t subtle. Gunfire and objective alerts travel. Expect company. Start with low-risk contracts near your drop zone until you’re comfortable juggling PvP and PvE pressure. Always check the match timer before committing—losing extraction because you overstayed is avoidable.
Enemies and Bosses: Know Your Threat
AI units vary in behavior. Adjust accordingly:
- Snipers – Close the gap quickly. They punish open ground.
- Flametroopers – Maintain distance. Their damage scales at close range.
- Rocket enemies – Use a hard cover. Their splash is lethal.
- All units – Constant movement breaks aim assist and delays reaction shots.
Two named bosses spawn on Serpent Island:
- Kui Ji – Lethal at close range, capable of instant elimination. Fight from mid-to-long distance and never push without an exit plan.
- The Tank – Heavy armor, sustained fire required. Bring LMGs or launchers. Peek, punish, reposition. Frontal trades are a losing bet.
Boss loot is high-tier, but boss fights are public events. Assume other squads are already rotating toward you. Extract promptly after securing the kill.
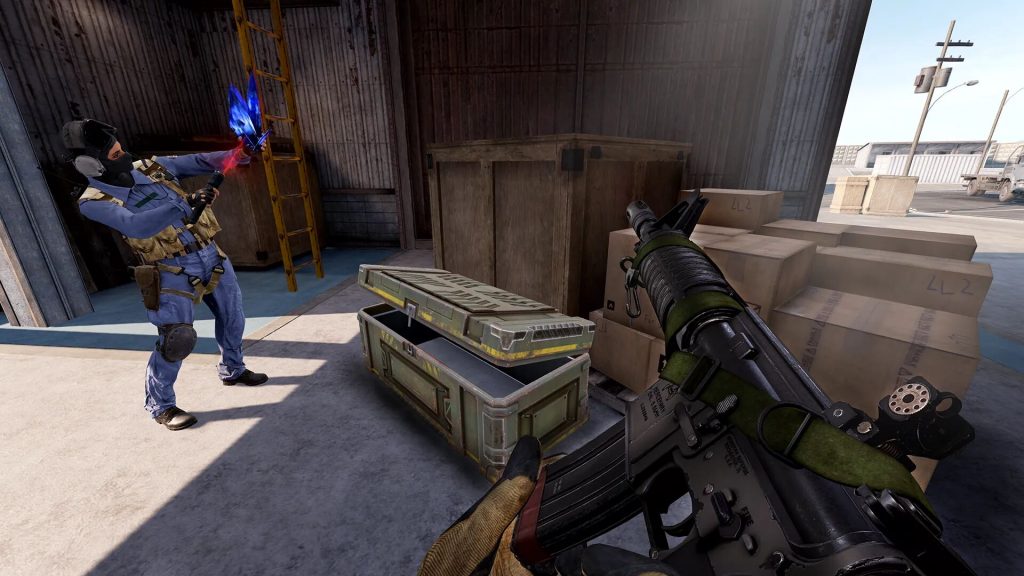
Loot, Cash, and the Black Market
Loot is long-term progress. High-value items fund better loadouts through the Black Market:
- Upgraded weapons
- Reinforced armor
- Ammo reserves
- Tactical and lethal equipment
In-match cash is equally vital. Buy Stations require it, and certain extraction methods demand payment. Safes and vaults contain dense loot but trigger audible alerts. Clear the immediate area before cracking them. Grab priority items, assign them to safe slots, and leave before reinforcements arrive.
Extraction: The Only Objective That Matters
Extraction ends the run. Fail it, and everything else is forfeit.
Extraction methods vary by map:
- Serpent Island – Standard helo, random spawns, paid extractions, boat exits, and convoy vehicles.
- Building 21 – Elevator extractions with fixed timers and high contest probability.
Monitor the radiation zone. As it expands, extraction points are permanently lost. Plan your exit early. When you reach the LZ, clear the area, deploy smoke, and hold position. Do not sprint blindly toward the rope—campers know the timer pressure. Play the clock, not the kill feed.
In DMZ Recon, survival is the stat that matters. Every other metric follows.